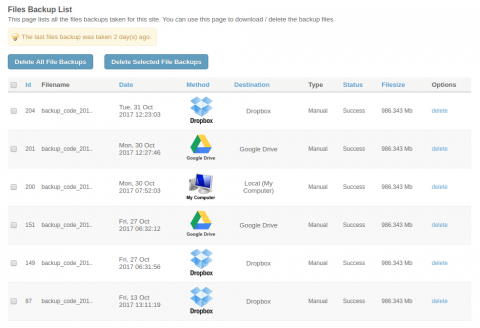
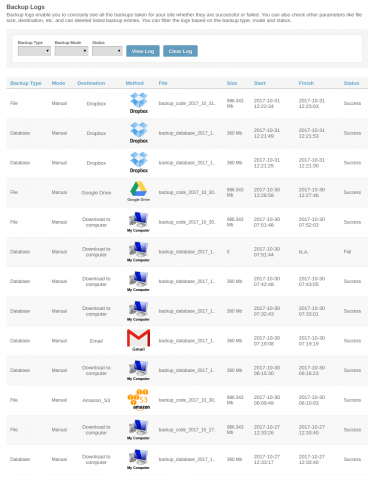
The Backup and Restore plugin is absolutely essential for all SocialEngine sites. It enables both database and files backups, and facilitates emergency restore, recovery and site migration. Both manual and automatic backups are available and this plugin makes the important tasks of backing up your site's content very quick and easy. Multiple storage options for backups are also supported.
Backup all your content; keep your online community safe.
The Backup and Restore plugin is absolutely essential for all SocialEngine sites. This plugin provides several options for backups and also facilitates emergency restore, recovery and site migration. It makes the important tasks of backing up your site's database and files very quick and easy.
The benefits of having backup copies of your site, and the ability to restore your website in case of disasters, data corruption, crashes, etc are significant.

Backup Types
There are two ways to take backup of your site’s database and files.
-
Manual Backup
Execute backup process of your website’s files and database manually with more than 7 destinations to choose from. Below options are associated with different destinations for manual backup process:
- Option to take backup of all the file directories/sub-directories and database tables or a few as per the requirement.
- Database tables can be locked before starting the backup process.
- Maintenance mode can be activated during the backup process.
- Add prefix to be appended to the name of the backup file.
-
Automatic Backup
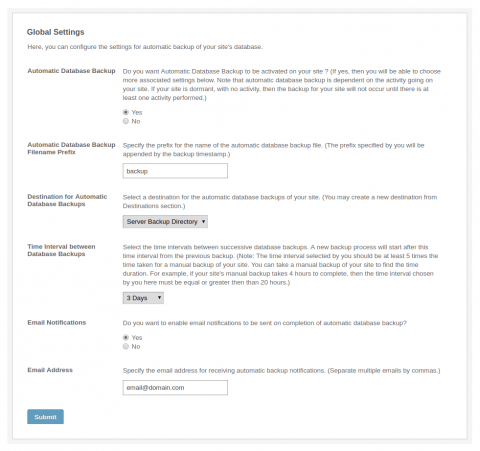
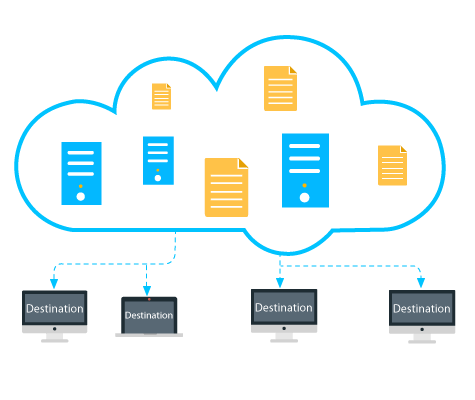
Convenient way of taking backup of website’s files and database to any of the 7 destination available. Below options are associated with automatic backup process:
- Set time interval between consecutive backups in hours / days / weeks / months / year.
- Enable/disable email notification to be received on completion of automatic database backup process.
- Specify single or multiple email addresses to receive automatic backup notifications.

Backup Destinations
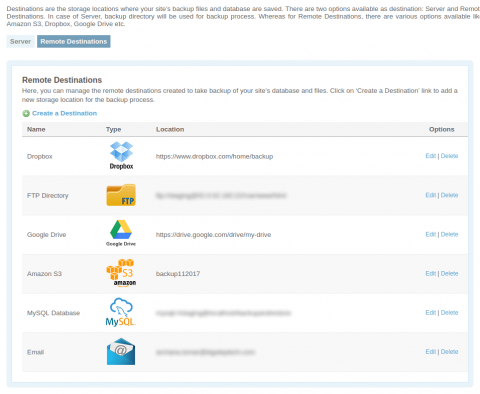
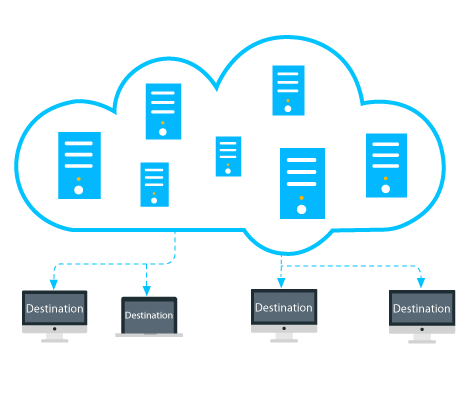
A wide range of options available as backup destinations which will help in smooth automatic / manual backup process of files and database of SocialEngine website.
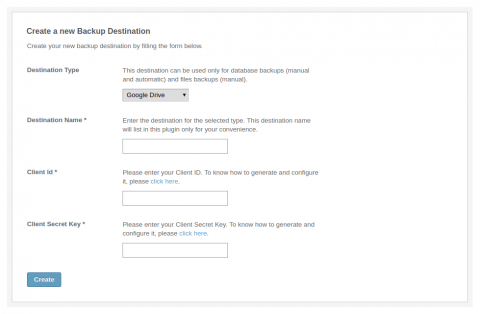
 Google Drive
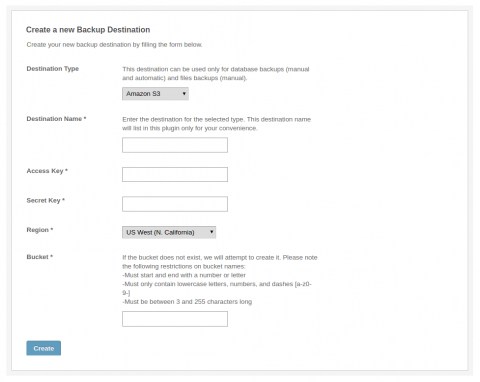
 Amazon S3
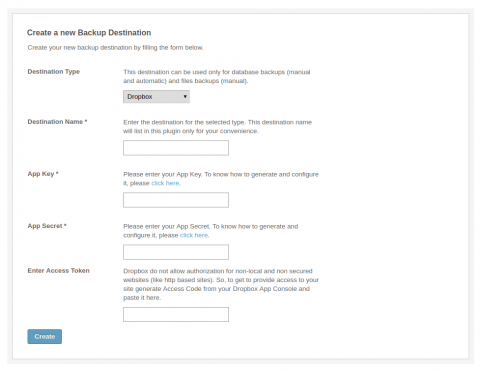
 Dropbox
 Email Account
 Remote Server
 Computer
 Database
 Local Server
-
-
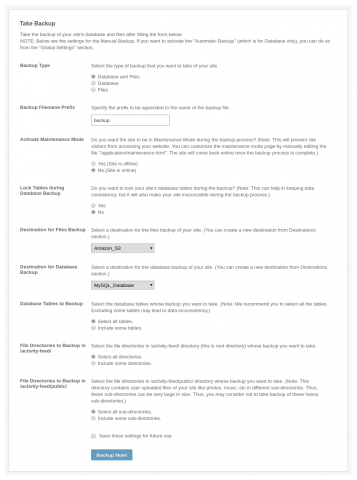
1. Backup type: Three ways to take backup of a website:
- Database and Files
- Database
- Files
-
2. Backup Filename Prefix: Specify the prefix to be appended to the name of the backup file.
-
3. Activate Maintenance Mode: Option to enable maintenance mode during backup process. The site will come back online once the backup process is complete.
-
4. Lock Tables: Option to lock site's database tables during the backup. This can help in keeping data consistency, but it will also make the site inaccessible during the backup process.
-
5. Destinations available for files backup:
- Download from Server
- Google Drive
- Dropbox
- Remote Server
- Amazon S3
- Local Server Directory
-
-
-
6. Destinations available for database backup:
- Download from Server
- Google Drive
- Dropbox
- Remote Server
- Amazon S3
- Local Server Directory
- Email Account
- Database
-
7. Database Tables: Option to select all or few database tables for backup process.
-
8. File Directories: Option to select all or few file directories in root directory for backup process.
-
9.File Subdirectories: Option to select all or few file sub-directories in root directory for backup process.
-
| Destination | Description | Files Backup | Database Backup |
|---|---|---|---|
| Amazon S3 | Backups can be directly saved in Amazon S3 buckets. | Yes | Yes |
| Google Drive | Backups can be saved in Google Drive of the associated gmail address. | Yes | Yes |
| Dropbox | Directly save your site’s backups on Dropbox’s server. | Yes | Yes |
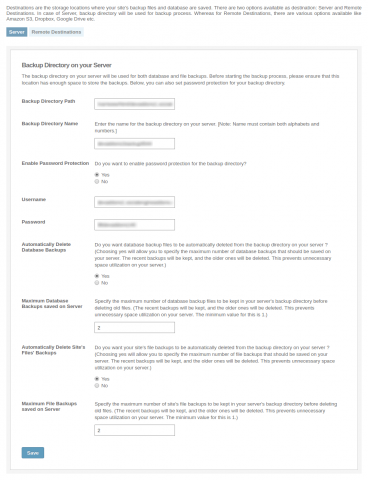
| Directory on Server | An admin configured backup directory on server can be used for storing both database and files backups. | Yes | Yes |
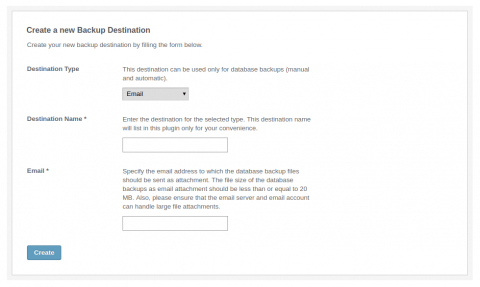
| Database backups can be emailed as attachments. | No | Yes | |
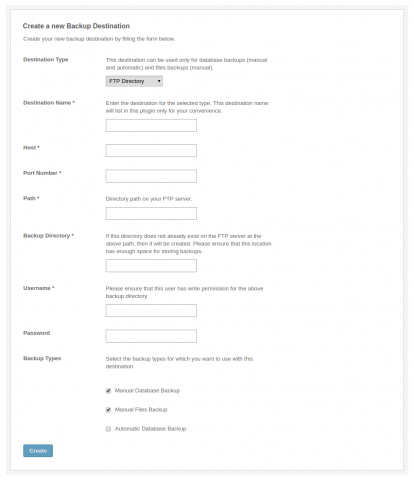
| FTP Server | Backups can be directly saved on external FTP servers. | Yes | Yes |
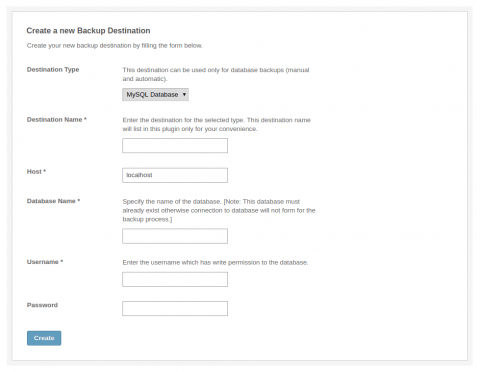
| MySQL Database | Database backups can be taken on other MySQL databases on the server. | No | Yes |
Restore
-
- EASY
- ONE STEP
- FAST
- RELIABLE
Two ways to Restore Database backup
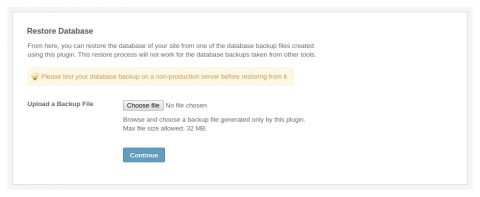
- Restore Database: Upload the database backup files which were created using this plugin.
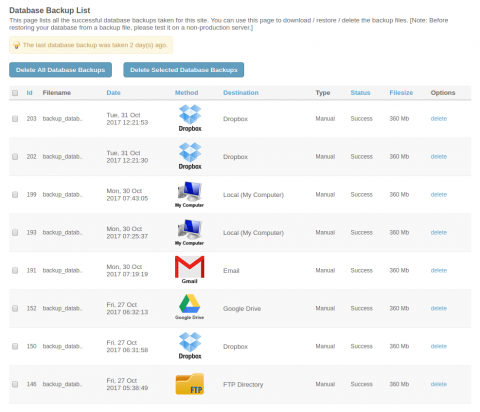
- Backup Listings: The backups available on server can be directly used for database restore.

WHY TO CHOOSE BACKUP AND RESTORE PLUGIN?

Set Schedules
Backup schedules every 4, 8 or 12 hours, daily, weekly, fortnightly or monthly

Lock settings
Lock access to UpdraftPlus via a password so you choose which site users can access backups

Reporting
Status reporting of automatic backup via email.

Backup
Performs complete manual or scheduled automatic backups of your website

Restore
Restoring backup is simple and quick.
Multiple Backup Destinations
7 backup destinations are available for taking backup of files and database.
Easy-to-Use
Engage with an easy-to-use interface that allows you to backup and restore with a single click on a schedule that suits you.
Cloning and Migration
Can be used to move your site to a new domain simply.
Backups are like insurance for your site. You need them the most when your site is in trouble. They are copies of your data which may be used to restore your site after mishappenings like data loss, data corruption, server crash, site attack, etc. Backups can also be used to migrate your site to another server. Your site's data and content are its life. The Backup and Restore plugin helps you protect them.
a) Database backup
b) Files backup.
a) Email: Database backups can be emailed as attachments.
b) FTP Server: Backups can be directly saved on external FTP servers.
c) MySQL database: Database backups can be taken on other MySQL databases on the server.
Additionally, there is a backup directory on the site server as well.
Backup files can also be downloaded to your computer and saved on storage discs like hard discs, CDs, DVDs, etc.
1) Take recent Database and Files Backups of your site using the Backup and Restore Plugin.
2) In order to install your site, you will need the following four pieces of information. If you don't have any of these, please contact your hosting provider and ask them for assistance.
- MySQL Server Address (often "localhost", "127.0.0.1", or the server IP address)
- MySQL Database Name
- MySQL Username
- MySQL Password
3) On your new server, create a database with a name of your choice.
4) Use a database handling tool like phpMyAdmin or the mysql command line to import the database backup file into the new database.
5) Extract the zipped Files backup on your computer and upload all of the files to your hosting account (it can exist either in the root HTML directory, or a subdirectory).
6) If you are using a Unix server (or Unix variant, like Linux, OS X, FreeBSD, etc.) you must set the permissions (CHMOD) of the following directories and files to 777:
- /install/config/ (recursively; all directories and files contained within this must also be changed)
- /temporary/ (recursively; all directories and files contained within this must also be changed)
- /public/ (recursively; all directories and files contained within this must also be changed)
- /application/themes/ (recursively; all directories and files contained within this should also be changed)
- /application/packages/ (recursively; all directories and files contained within this should also be changed)
- /application/languages/ (recursively; all directories and files contained within this must also be changed)
- /application/settings/ (recursively; all files contained within this must also be changed)
7) Update the settings of your new server in the file: "/application/settings/database.php" to point to your new database.

